

Extending the boundaries of the garden season.
Words and styling Sarah Heeringa. Hero image and completed project image Amanda Reelick
A cloche (pronounced kl-osh) is basically a small portable greenhouse. The name cloche comes from the French word for “bell”, as the original cloches were large bell-shaped jars. They were used by French market gardeners in the 19th-century to protect delicate out-of-season plants from the frosts of spring and autumn. Glass cloches look lovely but need monitoring on sunny days as trapped air can get too hot for plants.
Chase cloches, made using panes of glass held together by wires, were also popular in Victorian gardens. Some modern cloches look like mini plastic tunnel houses. They’re effective but don’t look very attractive.
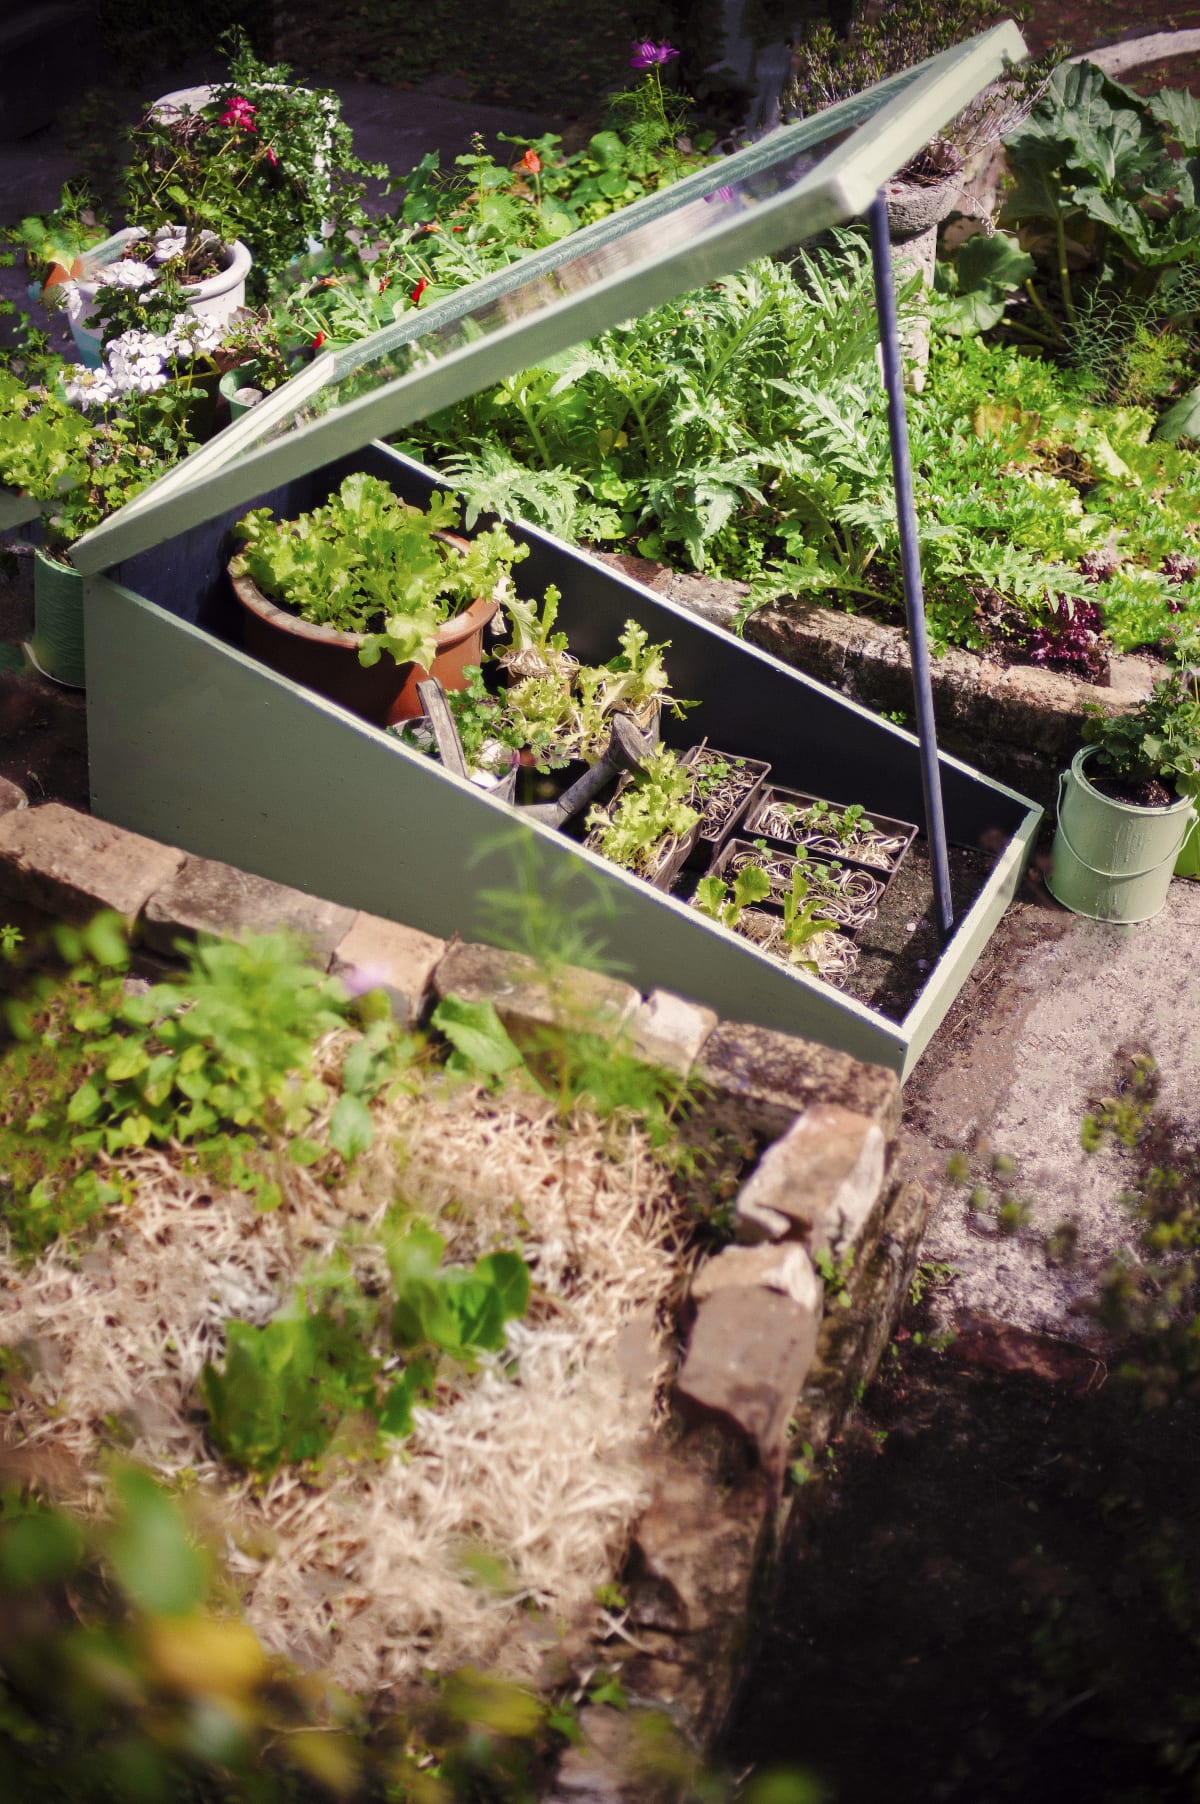
A happy compromise between form and function is to make your own garden cloche or cold frame, using upcycled timber and old window frames. You can build it from odd discarded bits and pieces including old door hinges. Give your cloche a coat of paint to make it look fantastic and to protect it from the elements. You can use your cloches in many ways, including as a mini-nursery for newly planted seedlings and to protect your growing lettuces and other delicates as the weather turns cooler.
Colour picks
Use muted colours tohelp your new cloche blend into the garden surrounds, with darker shades inside for maximum warmth retention.
- Resene Shark
- Resene Ciderhouse
You will need
- Wood offcuts (timber such as tanalised plywood can be used as it doesn’t come in contact with the soil)
- Old window
- 2 x hinges
- Stainless steel screws
- Saw and drill
- Cleaner and scrubbing brush
- Resene Quick Dry Primer Undercoat or Resene Waterborne Smooth Surface Sealer
- Resene Lumbersider in a colour of your choice
Tip: If painting over waterborne paint that is clean and sound, you can paint Resene Lumbersider on directly – no primer or sealer needed.


Step one
Scrub the window sash clean with a cleaner and water. Coat exposed timber with Resene Quick Dry Primer Undercoat, and cover any existing old enamel paint with a coat of Resene Waterborne Smooth Surface Sealer. (You can do this instead of sanding the old paint.) Timesaver: Resene Waterborne Smooth Sealer is an adhesive primer which helps the topcoat to stick. It can be used on old enamels you don’t want to sand.
Step two
The window frame dimensions will determine the cloche’s size. Measure the length and sides of the window sash. Cut plywood or other timber into 4 pieces, allowing a high back and low front, plus
2 sides each with a sloping edge the same length as the sash. The angle is up to you.
Step three
Screw the 4 sides together. Decide what side you want the window lid to open and attach the sash lid using the hinges.
Step four
Paint with Resene Lumbersider. I used Resene Ciderhouse on the outside and Resene Shark for the inside.

Step five
Angle the cloche to catch plenty of sunshine. Fill with seedling trays, plus any frost-sensitive or out-of-season vegetables in pots.
Visit resene.co.nz and for more Resene makeovers with Good, click here.
Sarah is a contributing editor for Good and author of Reclaim That: Upcycling your Home with Style. sarahheeringa.com
