Nourishing your plants and soil using compost you’ve created yourself.
Starting a compost doesn’t have to require day-long working bees to collect manure. All you need to get started is the bin itself – these range in price from about $45 for a basic plastic one to around $300 for a top-of-the-range compost tumbler. Or, you can make one yourself. You don’t need to be a DIY expert, you just need a basic structure that has ventilation and a cover of some sort. Some options to use are bamboo poles, or untreated planks.
The composting process is nature’s way of recycling organic matter and creating a nutrient-rich environment for new things to grow. It is the absolute best way of supplementing your garden soil as it adds nutrients and beneficial organisms, aerates the soil and wards off plant disease. It also provides a natural alternative to using chemical fertilisers.

More and more people are becoming aware of the origins of their food, but it’s also worth considering where our food waste is going. It’s easy to just throw something in the bin thinking that’s the end of it – but in fact, it will continue to have an impact on our environment. Compostable waste comprises over half of all landfill, releasing harmful methane gases, when it could be turned into a resource for growing nourishing food.
It makes a lot of sense to start your own compost bin; it will save you money, drastically reduce the amount of rubbish you throw out, and is something positive and rewarding you can do that doesn’t require a huge effort.
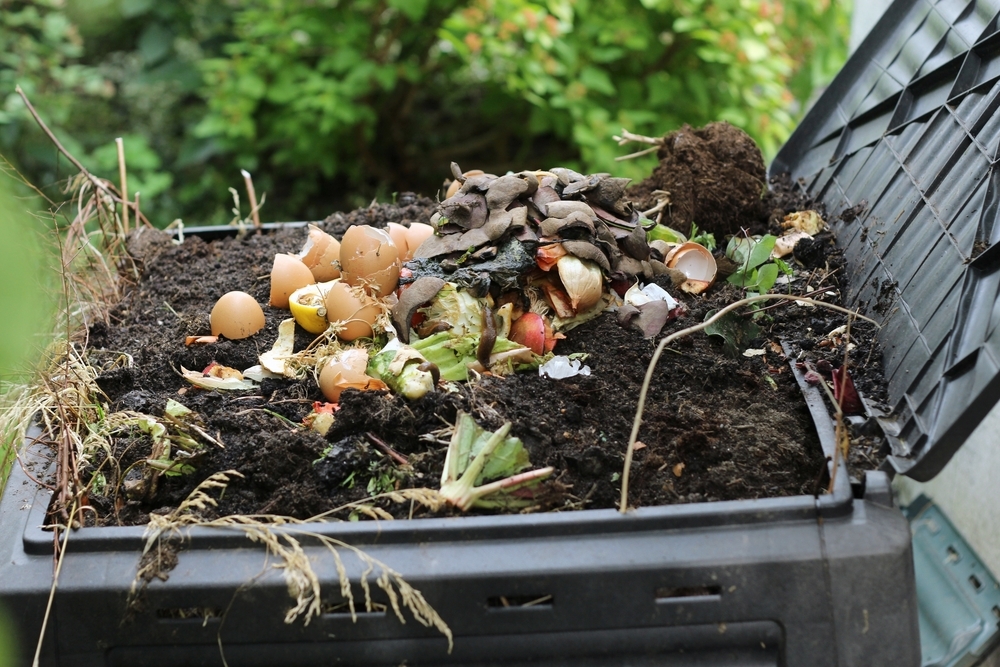
What to compost
As a general rule, anything that has been alive at one stage can be composted, but here’s a guide.
· Lawn clippings
· Animal (herbivore) manure
· Kitchen waste
· Coffee grounds
· Eggshells
· Fresh plant material
· Seaweed
· Light prunings
· Ash (from un-tanalised timber)
· Paper and cardboard (preferably shredded)
· Old leaves and plant material
· Straw or hay
· Some weeds (it’s best to avoid especially vigorous varieties that have gone to seed)
It makes a lot of sense to start your own compost bin; it will save you money and drastically reduce the amount of rubbish you throw out
What not to compost
· Plastic
· Metal
· Treated wood
· Diseased plant material
· Animal (carnivore) or human waste
· Meat or bones
A thriving compost
There’s a method to creating good compost, including getting the right mix of environmental factors/
· Warmth. Position your bin in a sunny spot: warmth activates your compost.
· Moisture. Keep a lid on your bin, especially during winter or rainy weather to make sure it doesn’t get too wet. In warmer months you may need to give it an occasional water to keep it from drying out. The ideal consistency should be that of a damp sponge.
· Ventilation. Your bin should have gaps in the sides to allow for air flow; oxygen is essential for decomposition. Turning your compost every week or two will keep it aerated.
· Layers. Alternating layers of green and brown matter, along with an occasional sprinkling of additives such as lime and soil, makes for a healthy ecosystem in your compost bin. Each layer should be roughly 10cm thick.
· Green matter. Fresh organic matter such as animal manure, kitchen waste, seaweed.
· Brown matter. Dead leaves, cardboard, paper, mulched branches.
· The right acidity. The optimum pH for your compost bin is about 6 or 7. Many will be more acidic than this: a handful of lime every now and then will help to balance the pH. Making sure you have similar amounts of green and brown waste will also keep the acidity levels in check. Fruit flies are a sign that your compost has become too acidic.
· Microorganisms and earthworms. These will enter the compost bin when it has contact with the ground. Adding a bit of soil to your compost now and then will encourage more activity.
When your compost is ready to use it will be dark brown and earthy smelling. The maturity time of the compost heap will depend largely on factors such as its internal temperature and the health of its microorganisms. For best results, fork compost lightly into the soil around established plants or incorporate into the soil before planting.