Fancy a cuddly new jumper but don’t have the time or patience for weeks of knitting? Use super-big needles and extra thick wool and you’ll be rugged up in next to no time
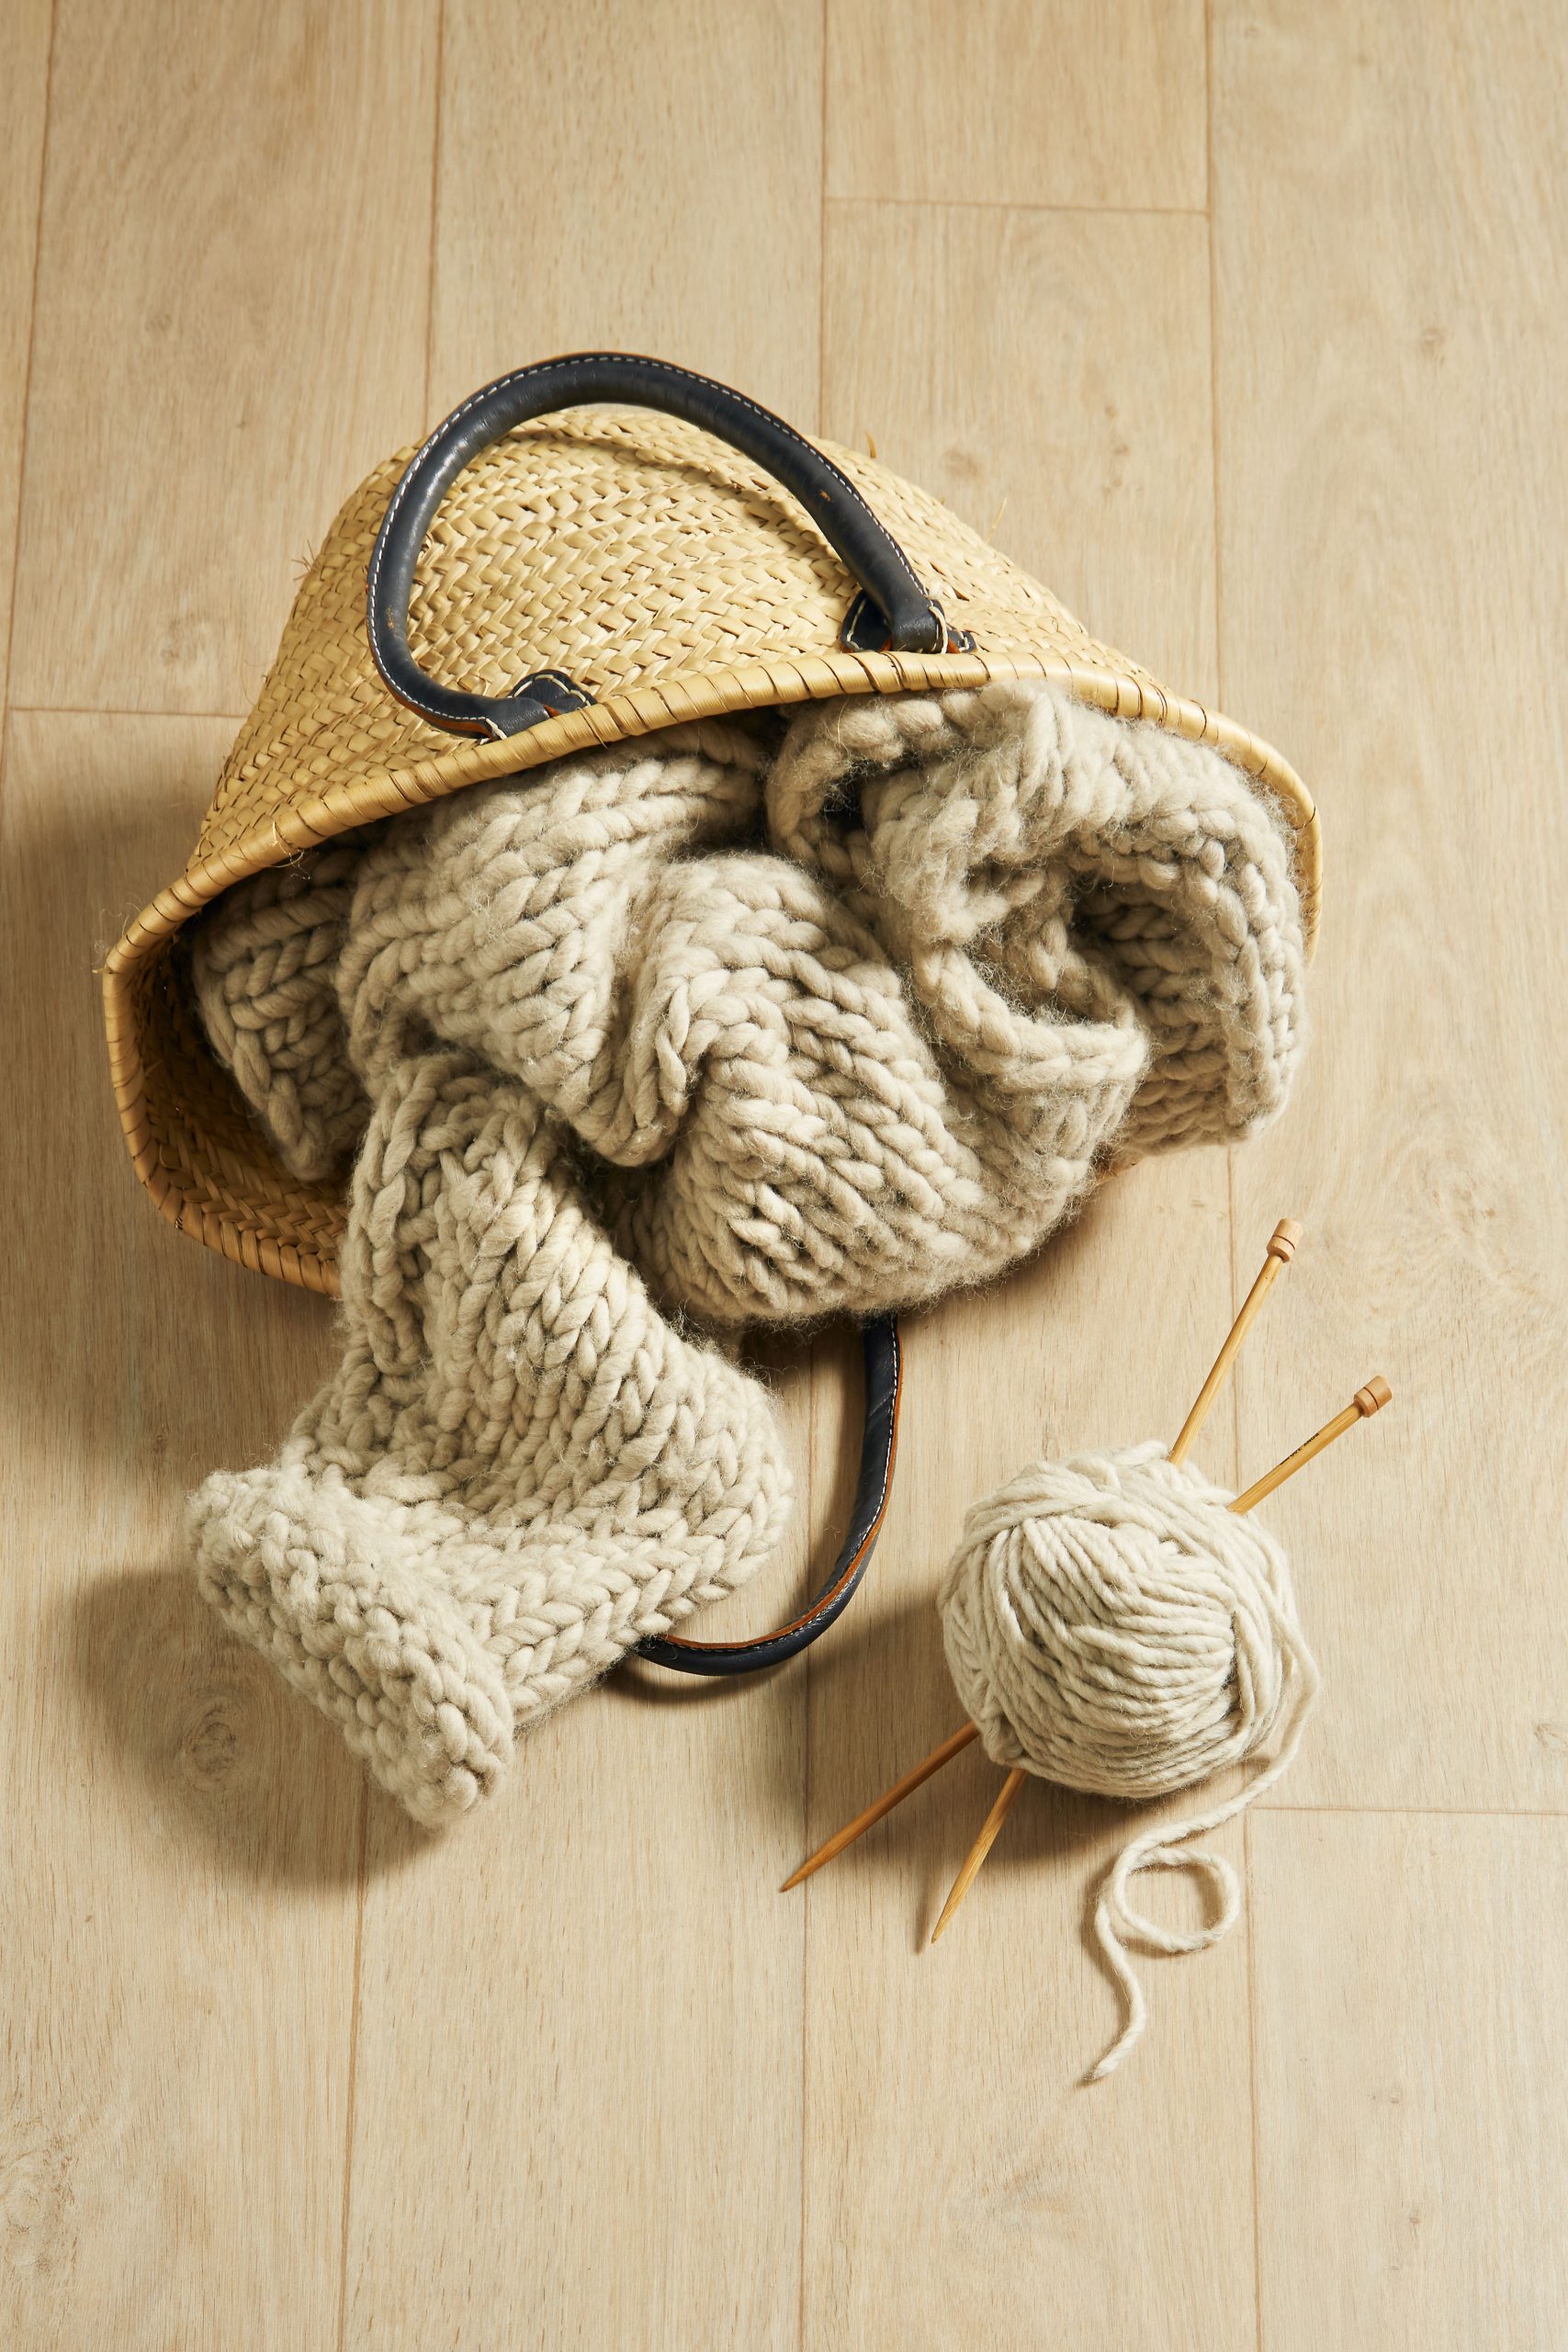
Bulky yarn is the speed-knitter’s best friend. It’s easy to work with, knits up quickly and looks great in the simplest of stitches
knitting is a popular form of super-sized knitting using chunky wool and needles that are well over a centimetre in diameter. This cosy jumper was knitted in a day using 30mm needles and a skein of extra thick wool – around 20 ply. Mega-knitting materials can be hard to find in mainstream stores, but visit www.etsy.com for a variety of oversized knitting needles and chunky wool. Alternatively you can head to your local hardware store to buy two lengths of wooden dowelling (look for some that is 20-30mm thick). Find someone with woodworking tools who can help you cut the ends into a V and sharpen to a point.
Once you have the biggest needles and thickest wool you can find, you can get started!
The pattern is the simplest imaginable, it’s basically four large stocking stitch squares
You’ll knit a front and back panel of the jumper, and then knit two arms. Sew them together to make the jumper shape.
You’ll need a tape measure to decide on the width you wish the jumper to be along its bottom edge. The number of stitches you need will depend on the thickness of your wool and needles plus the tension of your knitting style (tight, medium or loose). We used 10mm needles and 16 ply Crucci Natural Wonder pure wool, made in New Zealand. For instance, knitting in stocking stich using 55 stitches and medium tension measured 50cm in width.
Speed knitting a jumper
Start by casting on 55-plus stitches using a knit stitch.
Foundation row: Start with a row in purl stitch, knitting into the back of the stitch (this gives a neater edge).
Continue with stocking stitch: one row of knit and one row of purl, alternately.
If you lose track of whether you knit the last row or purled it, look at your knitting. Hold your needles in the ready-to-knit position (with the left hand needle holding the stitches to be worked) and look at what’s facing you. If you’re looking at the knit (smooth) side, you knit. If you’re looking at the purl (bumpy) side, you purl.
Continue knitting as many rows as you need to achieve sufficient length to reach from the middle of your shoulder down to your waist or lower. Cast off to finish the panel. This knitted square will form the front panel of you jumper.
Lay the knitted square flat and count the number of stitches. Repeat to knit a second matching square to form the back panel. Sew along the top of the front and back panels, leaving a gap for your head! Put this on to measure from the shoulder edge down to your wrist to establish the length of the 2 sleeve panels.
Measure from the top of your shoulder to comfortably below your armpit. Double this measurement to establish the width of your arm panel.
Cast on enough stitches to match the desired width of your sleeve panel. Knit enough rows until you have the desired length of the arm panel. Cast off to finish the panel. Lay the rectangular sleeve panel flat and count the number of stitches. Repeat to knit a second matching rectangle to form the back panel.
Hand sew the remaining panels together to form the jumper.
Casting on
1: Pull out a length of wool from your ball and make a loop.
2: Make a slip knot and put it on your needle. Hold this needle in your left hand and take the second needle in your right hand.
3: Poke the needle in the right hand through the loop on the left needle and bring the right needle under the left needle.
4: With your right hand, wrap the wool around your right hand needle.
5: Bring the right needle back through the loop on the left needle.
6: Now you have a loop around your right needle.
7: Drag the loop and drop it on to the left needle and release the right needle from the loop. You have two stitches casted on.
8: To continue, repeat from step 3.
9: Cast on as many stitches as required to achieve the width of jumper you want.
Knit stich
10: Start with your work to the right of your right needle. Poke the end of your left hand needle into the first loop on the right hand needle.
11: Hold the wool in your left hand. Wrap the wool around your index and pinky fingers (whatever feels most comfortable to hold it in your right hand).
12: With your right hand, wrap the wool around your right needle.
13: Take needle in your right hand. Bring the needle up through the bottom of the top stitch on your left needle. Your left needle should now be behind your right needle and the wool pulled back through the top stitch.
14: Slide the top stitch on the left needle off the needle.
15: You now have a new stitch on your right needle.
16: To continue, repeat from step 10, until all the stitches are transferred from the left to the right needle.
Purl stitch
17: A purl stitch is a knit stitch from the back of the knitting. For the purl stitch you start with the wool at the front. Poke the right needle up into the front of the first loop on your left needle.
18: Loop the wool around your right hand index finger.
19: Wrap the wool around the tip of the right needle.
20: Slide the tip of the right needle back through the first loop, carrying the new loop of wool with it. Drag the stitch off your left needle and you now have a new purl stitch on your right needle. To continue, repeat from step 17.
21-22: Continue to knit rows, alternately in knit and pearl to achieve the length of jumper you want.
23: If you lose track of whether you knit the last row or purled it, look at your knitting. Hold your needles in the ready-to-knit position (with the left hand needle holding the stitches to be worked) and look at what’s facing you.
24: If you’re looking at the knit (smooth) side, you knit. If you’re looking at the purl (bumpy) side, you purl.
Casting off
25: When you have knitted as many rows as you want , you need to cast off so your wool doesn’t unravel when you remove it from your needle. Start by knitting two stitches as you normally would.
26: Take your left needle and pass it through the bottom stitch on your right needle.
27: Bring the bottom stitch up over the top stitch and off the right needle.
28: Remove left needle from stitch, now you only have one stitch on your right needle.
29: Knit one more stitch like you normally would, now you have two stitches again on your right needle. Continue from step 26 until all stitches are casted off.
30: To finish the last stitch, pass the end of the wool through the loop and pull it tight.
31: The number of stitches you need will depend on the thickness of your wool and needles plus the tension of your knitting style (tight, medium or loose). We used 10mm needles and 16 ply Crucci Natural Wonder pure wool, made in New Zealand. For instance, knitting in stocking stitch using 55 stitches and medium tension measured 50cm in width.
32: Lay the knitted square flat and count the number of stitches.