Maximise that awkward corner or otherwise inaccessible spaces with sleek fitted shelves
Words and styling Sarah Heeringa. Photography Jessie Casson

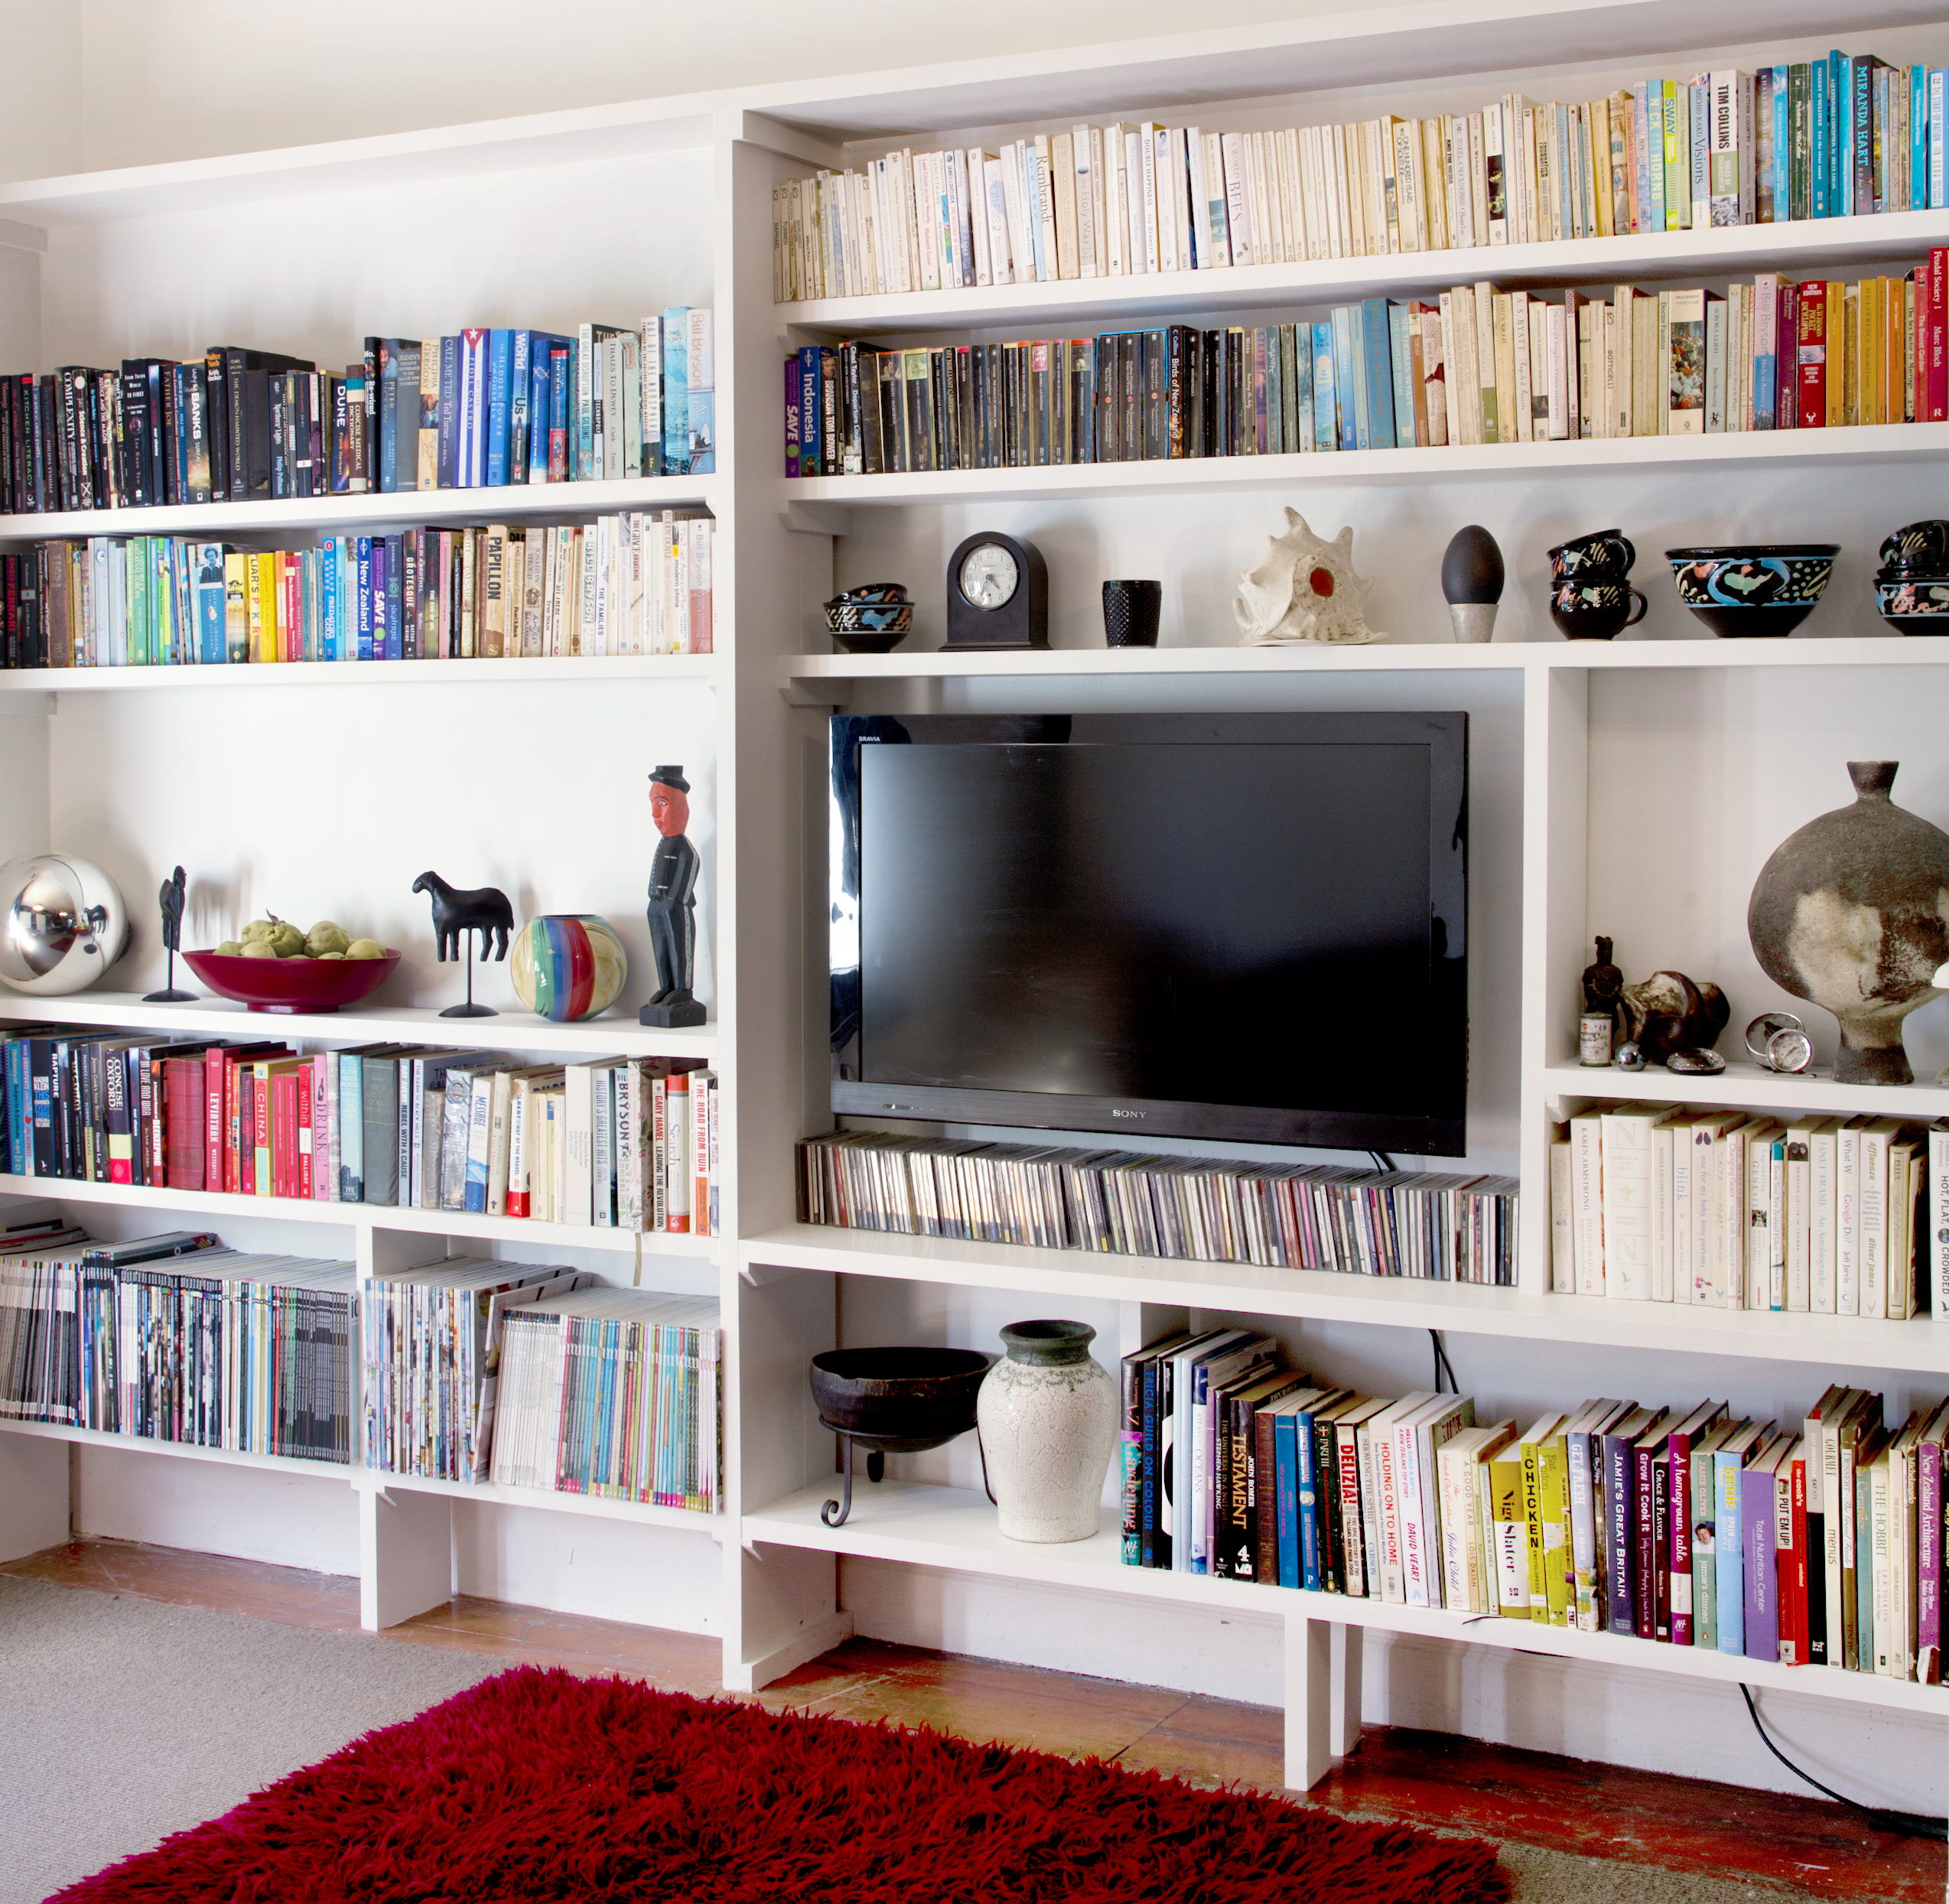
When you’re living in a small space, every detail counts and swapping out freestanding bookshelves or a storage cabinet for wall-mounted shelving is a simple way to make the most of any available room. Even where space is not at a premium, fitted shelves are ideal for maximising awkward or unusually shaped spaces where other furniture won’t fit and generally for creating the perfect place to display your books and interesting objects.
Wall-mounted shelving sits closer to the wall than cabinets and bookshelves so they tend to take up less floor space. If built solidly they can also hold more than a traditional bookcase. You can make the shelves wider and higher – if necessary reaching all the way to the ceiling. You can also use built-in shelves to make use of the space above a piece of furniture, such as a desk, dresser or sofa. Built-in shelving is ideal for disguising objects such as the television. By surrounding the telly on every side with books and other objects you reduce the visual dominance of its big, black, square shape.

To really make the most of the wall space, plan to include shelves of varying heights – with shorter shelves for CDs or DVDS, paperbacks and small collectables, and taller shelves for large format books and other larger objects.
Built-in furniture looks like it is part of the house and this allows it to blend in for an overall minimalist appearance. This effect is further enhanced when you paint the walls and shelves in matching shades. I used Resene Half Merino, which is a lovely shade of milky white. If possible, it’s simpler to paint the wall your chosen colour before the shelves are put up. But if timing doesn’t allow for this, you can also paint the wall and shelves at the same time.
Living room shelves that are the same colour as the walls create less visual clutter than a freestanding bookcase, enabling your books and collectables to become the main focus. And once the painting is finished the fun of artfully arranging your things can begin! Try limiting the arrangement to a few colours and sorting your books by size and colour to help keep things from becoming visually overwhelming. Mix in a variety of favourite objects of varying shapes and sizes for a wall with personality and pizazz.
You will need:
- Fitted shelves, made using lengths of solid pine
- For the walls: 10 litres Resene Zylone Sheen waterborne low sheen in a colour of your choice. I used Resene Half Merino.
- For the shelves: 2 litres Resene Acrylic Undercoat. 2 litres Resene Spacecoat Low Sheen waterborne enamel in Resene Half Merino (this could also be used on the walls).
- Sandpaper, rags, roller and medium-large paintbrushes.

Painting tips
1 Lay drop cloths on the floor. Check the shelves for any nail holes or other spots that need filling with builder’s bog. Fill, allow to dry and sand smooth.
2 Wipe the shelves free of any dust. Use a paintbrush and roller (where space allows) to paint or retouch the wall, using Resene Zylone Sheen waterborne low sheen or Resene SpaceCote Low Sheen in a colour of your choice. Allow to dry.
3 Cover the shelves with a light smooth coat of undercoat. Allow to dry before spot sanding where necessary.
4 Wipe the shelves again and shake out your drop cloths to get rid of any dust.
5 Wash out your roller and brush and use them to topcoat the shelves using Resene SpaceCote Low Sheen waterborne enamel. Allow to dry before painting with a light second coat as necessary.
Visit resene.co.nz and for more Resene makeovers with Good, click here.