

Sandwich in a plastic bag, fruit, raisins, maybe a yoghurt … when my eldest started school I’d pack the same lunch every day, says Good reader Paula Brown. But every time the sandwich went in the plastic bag or the plastic wrap, she’d feel a twinge of guilt. So Paula learned to sew, and has come up with a sandwich wrapper so easy to make anyone could do it—even her!
Paula learned to sew, and has come up with a sandwich wrapper so easy to make anyone could do it—even her!
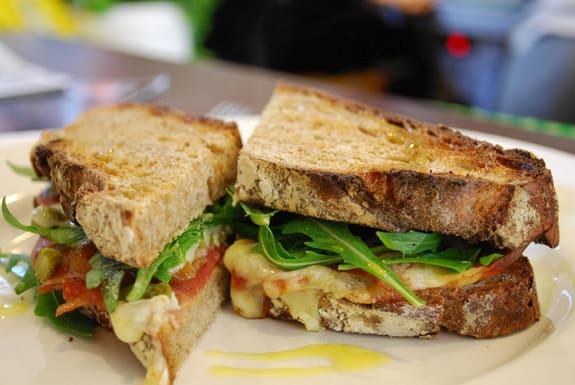
Image by avlxyz via Flickr
Sandwich wraps
 When my eldest started school I’d pack her lunchbox every day. It was always the same thing. Sandwich, in a plastic bag, fruit, raisins, maybe a yoghurt—and every time I put the sandwich in the plastic bag or the plastic wrap I felt a twinge of guilt. I felt bad that it was going to sit in a lunchbox for about three hours and then end up in the rubbish. So I began planning …
I wanted something that was easy and cheap to make, easy to clean, and would last. I did have a few teething problems though. For starters, I didn’t have a sewing machine, and secondly, even if I did, I would have no idea how to use it. My guilt won out in the end and I went online and brought a sewing machine.
Have you ever tried to buy a sewing machine off the internet when you know nothing about them? It makes for a really interesting experience. Top loading bobbin, front loading bobbin, hard case, soft case, the only thing that made it almost English was the flashbacks to Mrs Sylvester’s Form 2 sewing classes.
I had some leftover PUL and a snap press from nappy making. I also had some gingham fabric that Mum found lying around. I had a sewing machine and an instruction manual (that I had to read and follow cover to cover) and I had an idea.


My first attempt wasn’t the best. I had underestimated the size of a peanut butter sandwich. My next attempt was far better. Best of all, for this whole school year my daughter has not used a single piece of gladwrap or a single plastic bag in her lunch box.
how to do it
- I used calico to make the pattern. Its easy and it lasts. I cut it into a non symmetrical octagon about 45cm wide and about 38cm high. Each of the long sides on the octagon are about 20cm long, the smaller sides (the sloped ones) are about 15cm.
- I then cut little tags to sew in to use as the flap to close it. About 6cm wide and about 15cm long. I have also made them with the flap cut into the octagon but it sews nicer when its put in separately.
- I then transferred this onto my wrap fabric and the cotton layer. I have used both PUL and parka nylon successfully.
- I put snaps on at this point. I have also used Velcro and I think its easier for little hands to use.
- I then pin the fabric and the cotton together and sew it. Leave a gap at the top to sew the flap bit in, do that and done.
If I can do this with no sewing experience then anyone can. It’s so easy!
